As a business owner registered with Local Club, you will have the ability to add new business locations to your account at any point.
Local Club gives you the flexibility to add business locations one by one or in bulk.
ADDING A NEW LOCATION TO A NEW ACCOUNT
To get started, click on the 'Settings' ⚙️ tab located in the navigation rail at the top of the screen. Then, select 'Business profiles' from the options listed.

Click on 'Manage locations'.

Select the ‘Add a location’ option.

On the next screen, you will be able to add the location name, country, phone, and zip code for the new location.
NOTE:
To mark the location as ‘Corporate’, check the box below. For more information, read the help center article: What is a Corporate location and how can I create it?

IMPORTING LOCATIONS IN BULK
To upload multiple locations in bulk, click on the 'Manage locations' drop-down button and select the 'Bulk import' option.

On the new screen, click on the ‘Download template’ button to download the Excel template.

The second tab, labelled 'Specifications', allows you to select the fields that you want to include or exclude when adding the data required to create locations. By default, the first three fields in the Excel sheet are marked 'Y'. You can mark 'Y' to include additional fields for bulk upload, or leave them as 'N'. Once you have specified the fields that you want to add, click on the 'Setup Business' button.

You are now taken to the third tab of the Excel sheet. Here, you can fill in information for multiple business locations. Note that only the fields labelled 'Y' in the previous sheet are visible for uploading data. Once you have added the required information, save the Excel file for uploading.

Now, you can upload the Excel file to add the locations.
CHANGING THE STATUS OF A LOCATION
Once the location is added, you will be redirected to your ‘Locations’ page. On the new screen, you can see that a new location is marked as ‘Demo’.

To change the status of the location, hover over the location and click on the corresponding ‘Actions’ drop-down button. Select the ‘Make active’ option to mark the location ‘Active’.
HANDY TIP: You can also refresh the review monitoring for the location and delete the location as well.

The location will be now marked as ‘Active’.

IMPORTANT:
You can add new locations to your Local Club account even if you haven't subscribed to new locations, but you will not be able to mark them as 'Active' until you purchase them by clicking on the 'Get started' button. To learn how to purchase a location, read the help article: How do I purchase a new location within my Birdeye account?

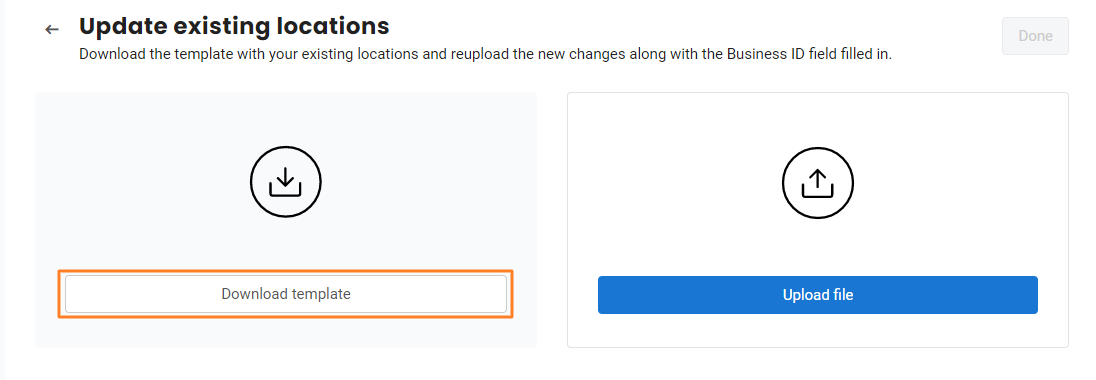
UPDATING EXISTING LOCATIONS
On the new screen, click on the ‘Download template’ button to download the Excel template.
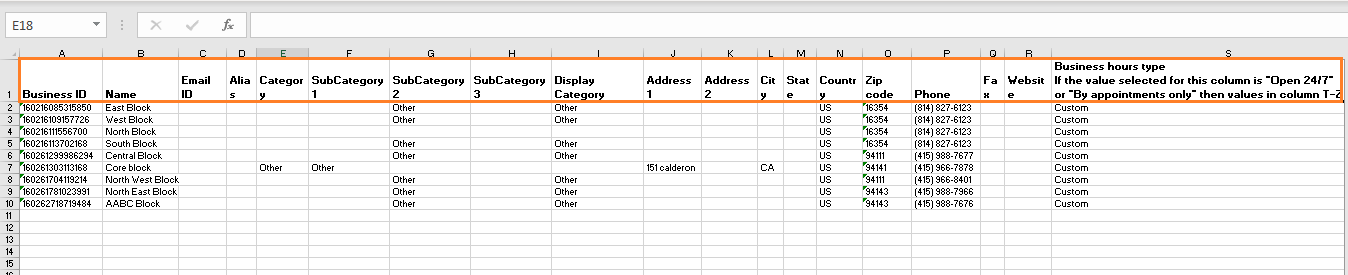
Open the template to update the information you want and save the file.
NOTE:
With Local Club, you can engage with customers on Google Messaging/Webchat post business hours as well. Your business hours may say 9 AM to 6 PM, but because of your call center's support, you’d still be able to accept Webchat messages.
You can support business hours based on call center availability instead of store hours by adding Contact hours in the bulk upload sheet's AZ-BG columns. These contact hours only apply to auto-reply for Webchat and Google Messaging.
If contact hours are established, an auto-reply will use contact hours instead of business hours. If "Open 24/7" is selected in this column, the values in columns BA - BG will be disregarded.

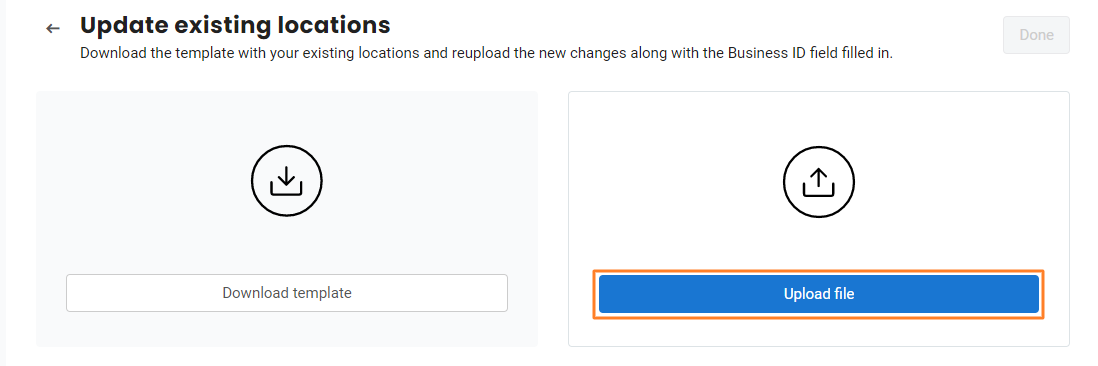
Now, you can upload the Excel file to update the locations.
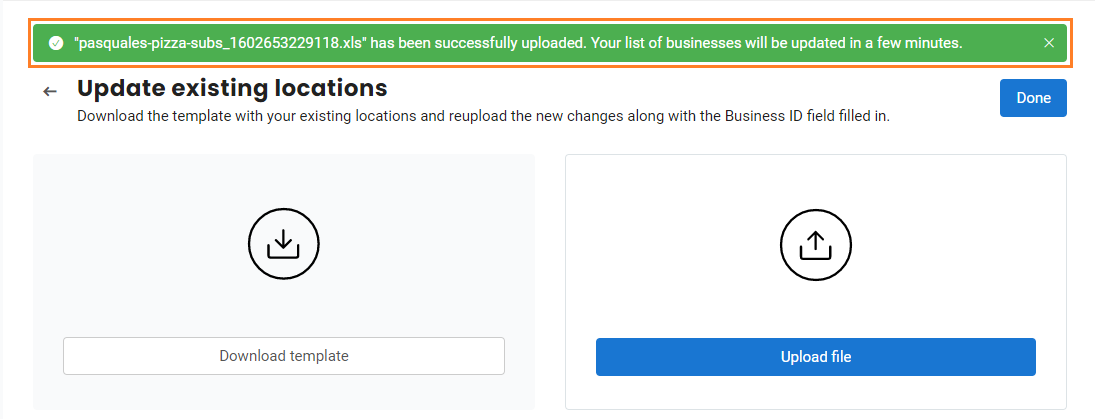
Once it is successfully uploaded, a success notification will appear on the top.